How to Use GitHub


When it comes to code hosting platforms, GitHub is an unavoidable name. As one of the largest open-source communities, GitHub has become the center for programmers, developers, and tech enthusiasts. It not only provides an easy-to-use version control system but also offers various tools and functionalities to help developers manage and share code in a secure environment.
In this article, we will introduce how to use GitHub, including creating an account, using Git for version control, contributing to open-source projects, and building a personal website or blog.
Table of contents:
- What is GitHub
- Creating a GitHub account
- Using GitHub
- GitHub Usage Scenarios
- How to Contribute to Open Source Projects on GitHub
- How to use GitHub Pages to build a personal website or blog
- How to use GitHub Action for automated testing and deployment
What is GitHub?
GitHub is a web-based Git repository hosting service. Its primary function is to help developers store and manage source code in a central location so that team members can collaborate on software projects. GitHub is a hub for the open-source community, and as such, it has become one of the default hosting platforms for open-source projects.
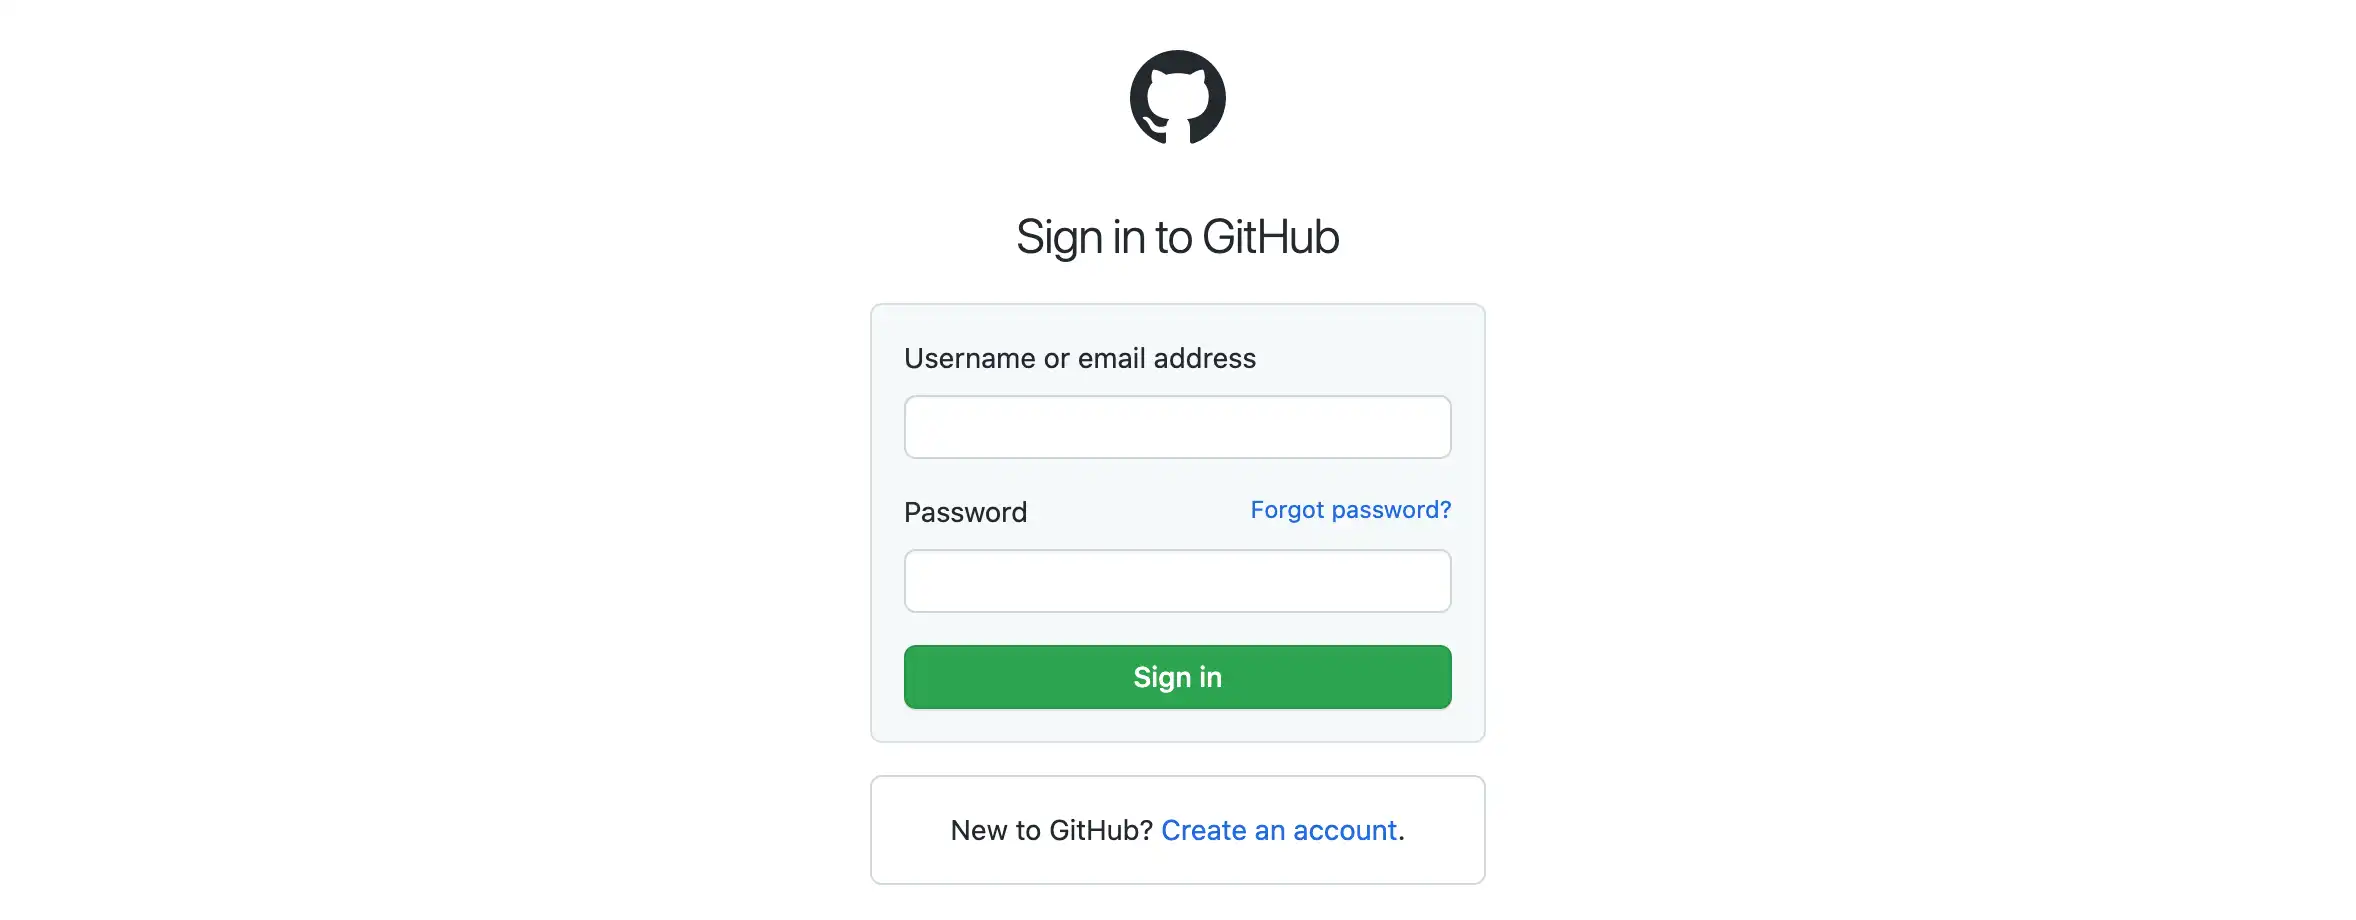
Creating a GitHub Account
If you don’t already have a GitHub account, you will need to register for one. Registering for a GitHub account is straightforward, and all you need to do is provide your username, email address, and password. Once you have completed registration, you can create a repository to store your code.
Using GitHub
Understanding basic concepts and terminology of GitHub
Before getting started with GitHub, it is essential to understand some basic terms and concepts. Here are some common GitHub terms:
- Repository: a place for storing and managing code.
- Branch: an independent code version created based on the main codebase.
- Commit: the process of making changes to the codebase and saving those changes.
- Merge: the process of combining two or more branches into a new branch or the main branch.
- Pull Request: the process of requesting code reviewers to review and merge code changes.
- Release: a version number released to make it easier for users to access a specific version of the code.
- Issue: a tool used to track errors, feature requests, or other issues.
Using Git to manage code and version control
Git is a version control system that allows developers to manage and track all changes in a code repository. Git also supports branching and merging, allowing for the creation and testing of new features without affecting the main codebase.
The basic process of using Git for version control includes:
- Initialize code repository: Use the “git init” command to initialize a code repository.
- Add files: Use the “git add” command to add changed files to the code repository.
- Commit changes: Use the “git commit” command to commit changes to the code repository.
- Branch and merge: Use the “git branch” command to create a branch and the “git merge” command to merge branches.
- Remote synchronization: Use the “git push” command to synchronize the local code repository with the remote code repository, and use the “git pull” command to synchronize changes from the remote code repository with the local code repository.
Using visual tools such as GitHub Desktop
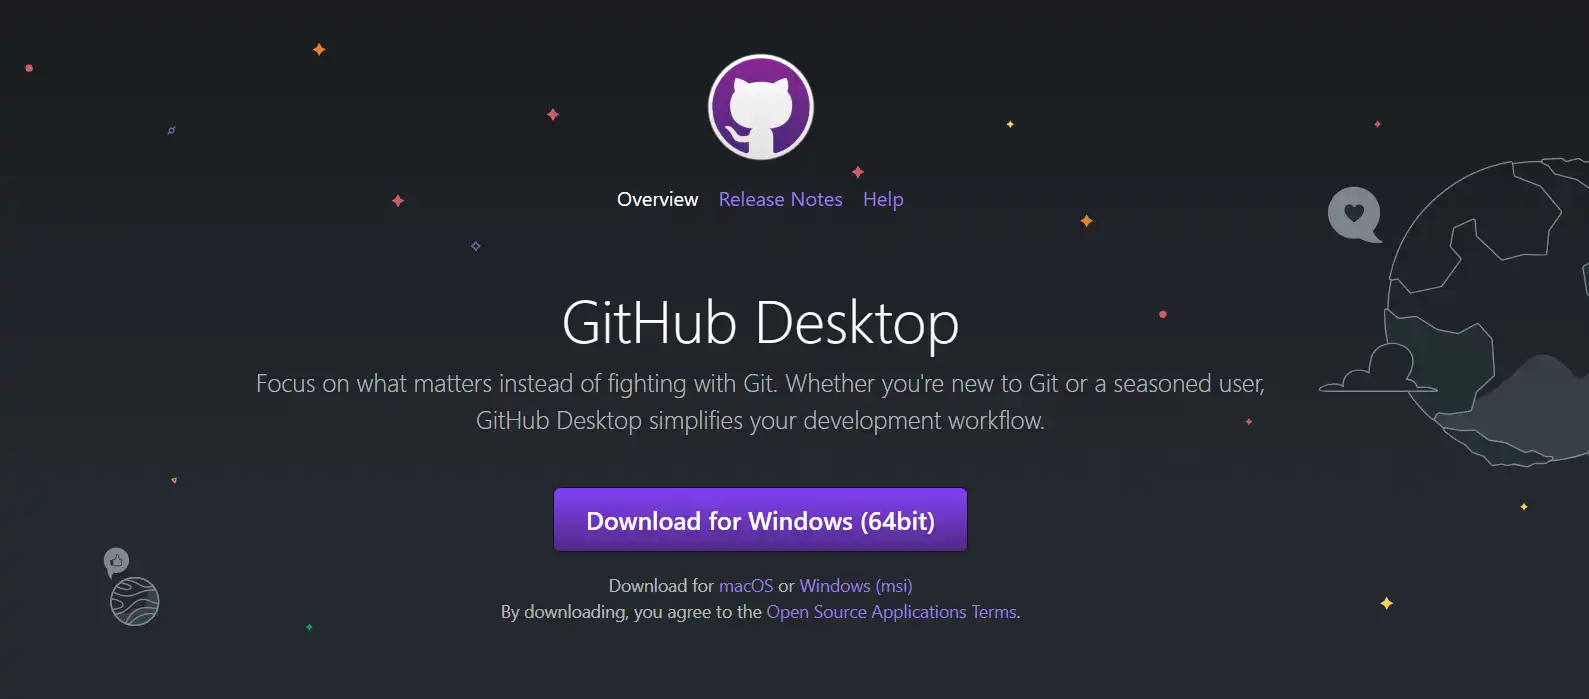
GitHub Desktop is a visual tool that helps developers use GitHub more easily. With GitHub Desktop, you can accomplish the following tasks:
- Clone repositories: Clone repositories by entering your GitHub username and repository name.
- Create branches: Use the “Branch” feature to create new branches and easily switch between them.
- Commit changes: Easily add, commit, and push changes.
- Sync repositories: Use the “Fetch” and “Pull” features to sync your local code repository with the remote code repository.
- Handle pull requests: View pull requests and review and merge them.
Perform advanced operations using command-line tools
Although using visual tools can simplify Git operations, in some cases, you may need to use command line tools for advanced operations. For example, when merging two branches or resolving code conflicts, command line tools provide more flexible and powerful options. For these advanced operations, Git Bash is a commonly used command line tool that provides a shell interface similar to Linux and Unix operating systems.
Here are some common Git Bash commands:
- git clone <repository_url>: clone a repository to local
- git checkout <branch_name>: switch to the specified branch
- git branch: list all branches
- git branch <branch_name>: create a new branch
- git merge <branch_name>: merge changes from the specified branch into the current branch
- git add <file_name>: add the specified file to the staging area
- git commit -m “<commit_message>”: commit changes to the local repository, and add a commit message
- git push <remote_name> <branch_name>: push changes to the remote repository
GitHub Usage Scenarios
Before using GitHub, we need to understand its usage scenarios in order to better utilize its functions. Here are some common GitHub usage scenarios:
Development project management
GitHub can help us manage and coordinate development projects, including version control, issue tracking, code review, and team collaboration. Through GitHub’s Issue feature, we can better track and manage task progress and conduct code reviews conveniently. Additionally, GitHub can also facilitate code merging and team collaboration through the Pull Request feature.
Team collaboration
GitHub provides an excellent platform for team collaboration, enabling team members to communicate and collaborate better. Through GitHub, we can share code, documents, and other files, facilitating collaboration and communication among team members. Additionally, GitHub can also facilitate team management and permission settings through the Teams feature.
Personal project management
GitHub can not only be used for team collaboration, but also for personal project management. Through GitHub, we can create our own project repositories and utilize its powerful version control capabilities to better manage code and documents. Additionally, GitHub also provides some other tools and features, such as Wiki and Pages, to help us manage and showcase our projects.
Participation in open source communities
GitHub is an important part of the open source community. Through GitHub, we can easily participate in the development and maintenance of open source projects. Through GitHub’s Fork feature, we can copy the code of other open source projects to our own repositories and make modifications and improvements based on them. Additionally, GitHub provides features such as Issues and Pull Request, facilitating our participation in open source project contributions and communication.
How to Contribute to Open Source Projects on GitHub
GitHub is an open-source community platform where you can discover, use, and contribute to millions of open-source projects. Below, we will introduce how to contribute to open-source projects on GitHub.
How to find and choose suitable projects
There are millions of open-source projects on GitHub. How to find the right project for yourself? You can do it in the following ways:
- Search keywords: Use GitHub’s search function to find projects based on keywords.
- Explore GitHub: There are many topics and categories on GitHub. You can explore these categories to find suitable projects.
- Follow trends: On the GitHub homepage, you can see the current popular projects. You can try to follow these projects.
After finding the right project, you can start contributing to these projects.
How to fork and clone projects
To contribute to a project, you need to fork the project to your own GitHub account and clone it locally.
- Fork the project: On the project page, click the “Fork” button in the upper right corner to fork the project to your own GitHub account.
- Clone the project: In your own GitHub account, find the forked project, click the “Clone or download” button, copy the project’s URL to your local Git client, and use command-line tools (such as Git Bash) or visual tools (such as GitHub Desktop) to clone it.
Developing and submitting changes
- Create a new branch: To avoid making changes to the main branch (usually the “master” branch), create a new branch for development. Regarding creating a new branch or other branch-related operations, the blog “How to Work with GitHub Branches” provides a detailed introduction.
- Write clear commit messages: Write clear commit messages every time you submit changes so that other developers can understand what changes you made.
- Follow the project’s code style and contribution guidelines: To ensure code quality and consistency, follow the project’s code style and contribution guidelines.
How to submit a Pull Request
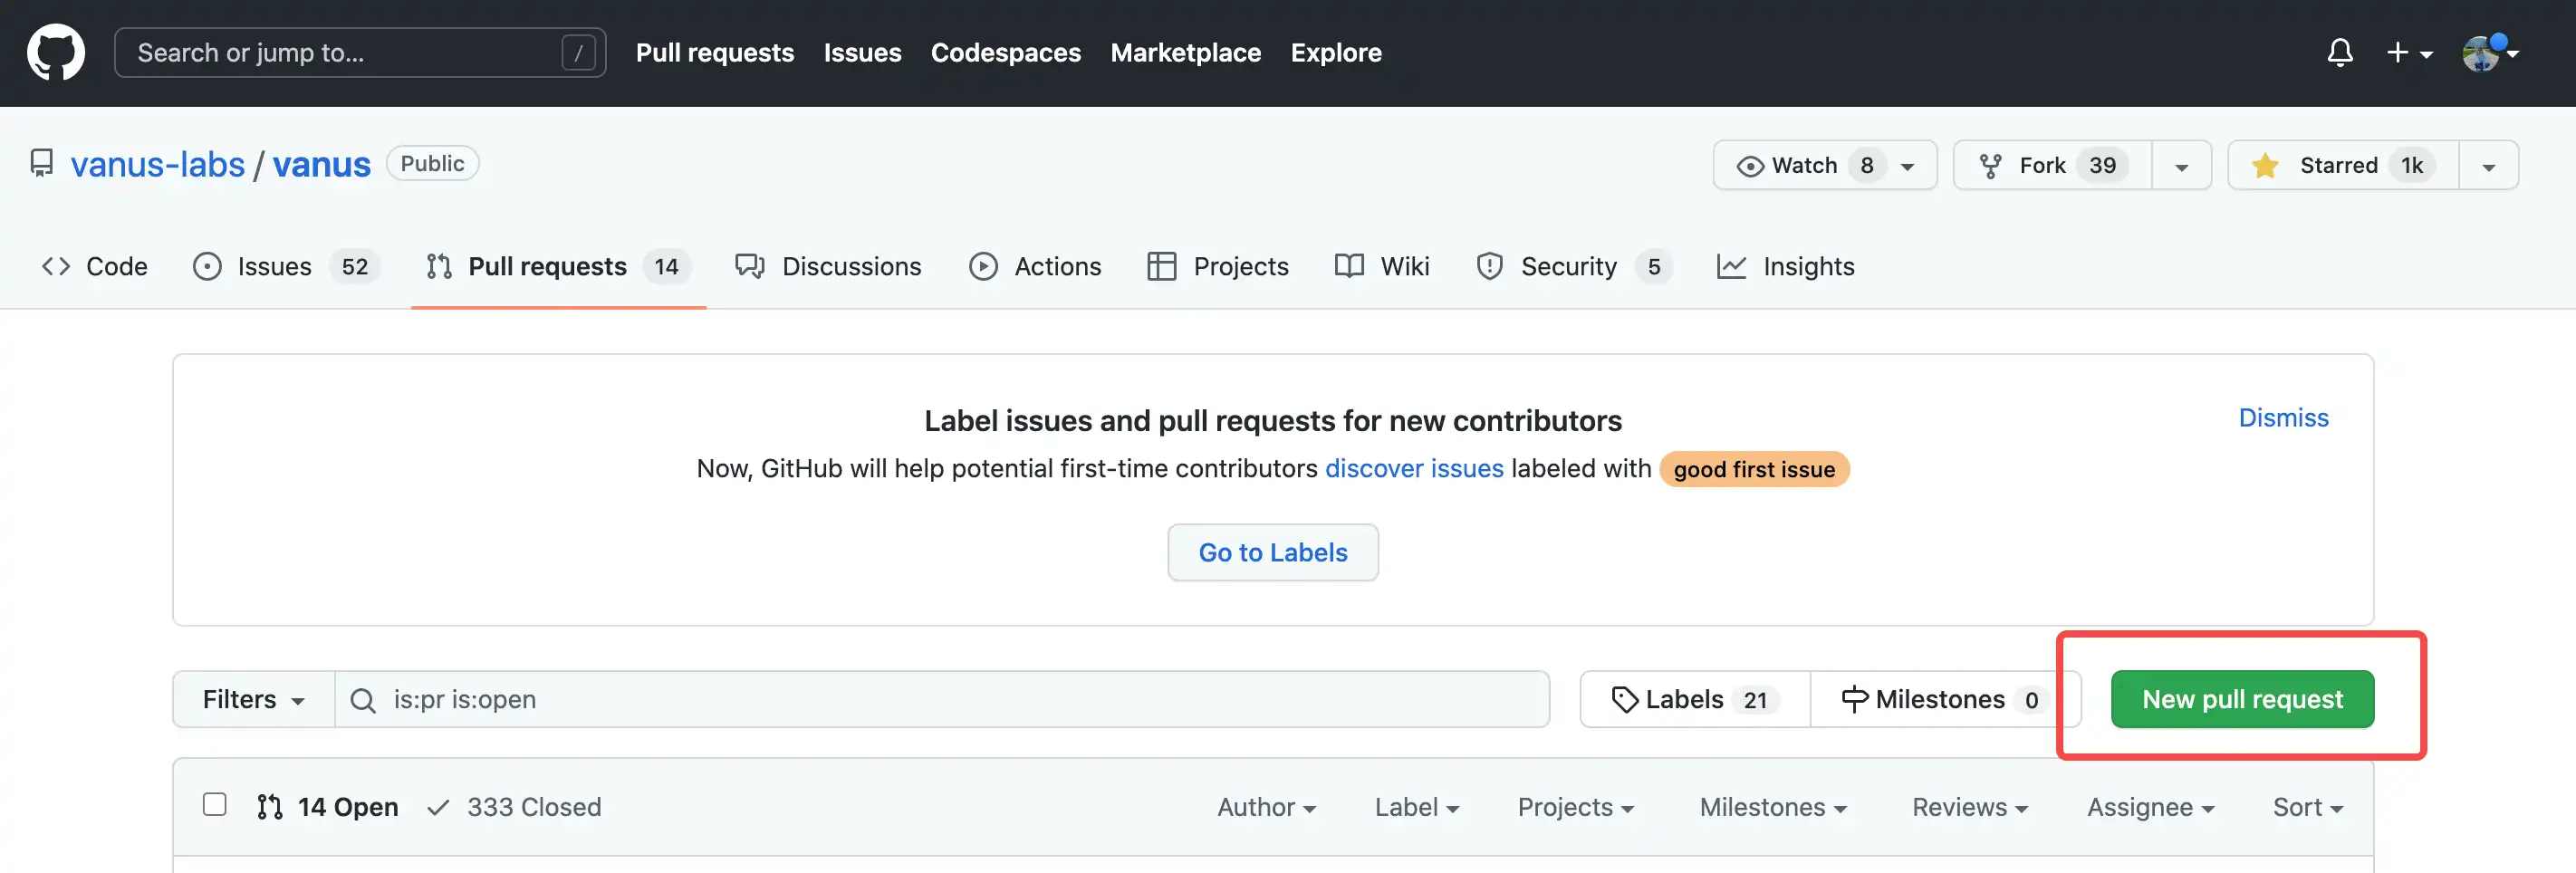
Once you have made changes and tested them locally, you can submit them back to the original project using a Pull Request (PR).
- Create a PR: In your GitHub account, find the forked project, click the “New pull request” button, select the branch to submit changes to, and write a description and detailed information about the PR.
-
Wait for review: Once you submit the PR, the original project’s maintainers will be notified and will begin reviewing your changes. If the maintainers find any issues with your changes, they will provide feedback and you’ll need to answer their questions and continue to improve your code.
-
Merge the PR: If the maintainers approve your changes and confirm that your code will not break the stability of the original project, they will merge your PR. This means your changes are now part of the original project and others will be able to benefit from them.
When you want to contribute to an open-source project on GitHub, you can submit your changes by creating a Pull Request. The article “How to create a GitHub Pull Request” will provide you with detailed steps to create a Pull Request, guiding you through the entire process from forking the project, creating a branch, making changes, and sending the request.
How to use GitHub Pages to build a personal website or blog
GitHub Pages is a feature provided by GitHub that allows users to quickly create and host their own personal websites or blogs. In this article, we will introduce how to use GitHub Pages to build a personal website or blog.
Create a GitHub account and repository
Firstly, you need to register a GitHub account. After registration, you can create a new repository to store your website or blog. When creating a repository, you should pay attention to the following points:
- The repository name must be named “username.github.io”, where “username” is your GitHub username.
- Choose “Public” or “Private” repository. If you want to publicly display your website or blog, you should choose “Public”.
- Choose a license, which will determine the rights and restrictions of other users when using your code.
Choose a static website generator
To build a website or blog on GitHub Pages, you need to use a static website generator. GitHub Pages supports multiple static website generators, among which Jekyll is the most popular. Jekyll is a powerful and easy-to-use static website generator based on the Ruby language. If you want to use Jekyll, you need to add a configuration file “_config.yml” in your repository. In this file, you can set basic information, themes, layouts, and other content for your website or blog.
Customize and publish your website or blog
Once you have chosen a static website generator and made some custom configuration according to your needs, you can use Git to submit your code to the repository. GitHub Pages will automatically compile your code and publish it on the internet. After your website or blog is published, you can visit it by typing “username.github.io” in your browser.
Using GitHub Pages to build a personal website or blog is a very convenient job. You only need to register a GitHub account, create a repository, choose a static website generator, make some custom configurations, and then publish your website or blog on the internet.
How to use GitHub Action for automated testing and deployment
GitHub Action is an automated workflow platform provided by GitHub that helps developers automate tasks such as compilation, testing, and deployment. Using GitHub Action can improve development efficiency, reduce manual errors, and ensure the quality and stability of code. Here are the steps for using GitHub Action for automated testing and deployment:
Create an action
In the GitHub repository, create a folder named “.github/workflows” (note that this is a folder), and then create a YAML file named “main.yml” in this folder. This file defines the workflow that we want to execute. In this file, we need to define the following:
- name: the name of the workflow
- on: the event that triggers the workflow, which can be push, pull_request, and so on
- jobs: the tasks to be executed
Here is an example:
name: CI/CD Pipeline

on:
  push:
    branches: [ main ]

jobs:
  build-and-deploy:
    runs-on: ubuntu-latest

    steps:
    - name: Checkout code
      uses: actions/checkout@v2

    - name: Setup Node.js
      uses: actions/setup-node@v2
      with:
        node-version: '14'

    - name: Install dependencies
      run: npm ci

    - name: Run tests
      run: npm test

    - name: Build and deploy
      uses: JamesIves/github-pages-deploy-action@3.12.1
      with:
        ACCESS_TOKEN: ${{ secrets.ACCESS_TOKEN }}
        BRANCH: gh-pages
        FOLDER: build
Run actions
Every time a push or pull_request event occurs, GitHub will automatically run the workflow we defined. During the workflow execution, GitHub will run the tasks we defined in the container. We can view the execution status and results of the workflow in the Actions tab of GitHub.
Configure Secrets
In the above example, we used a secret named ACCESS_TOKEN, which is the access token of our GitHub account used to access GitHub Pages. To use this secret, we need to add it to the Secrets of the GitHub repository. In the Settings tab of the repository, find the Secrets menu and add a secret named ACCESS_TOKEN.
Optional Step: Use Preset Actions
GitHub provides many preset Actions that can easily complete common tasks. We can use the “uses” keyword in the YAML file to reference these Actions. For example, if we want to run a Python application and perform unit testing, we can use the following code:
- name: Test with Python
  uses: actions/setup-python@v2
  with:
    python-version: '3.x'
- name: Install dependencies
  run: pip install -r requirements.txt
- name: Test
  run: pytest
Here we used the two predefined Actions, “actions/setup-python” and “pytest”.
In summary, GitHub Action is a very powerful and flexible automation workflow platform that can help us automate various tasks and operations on GitHub, thereby improving our development efficiency and code quality. By learning and using GitHub Action, we can easily set up CI/CD processes, automate testing, deployment, packaging, and code publishing, as well as integrating third-party tools and services such as Docker, Slack, AWS, etc. to better meet our development and project management requirements.
It is worth mentioning that GitHub Action has extensive customizability and flexibility. Users can customize various actions to complete specific tasks and operations according to their own needs and preferences, and can also share and reuse other users’ actions to further improve work efficiency and code quality. In short, mastering GitHub Action is an essential skill in modern software development and project management, and it is worth taking the time to learn and master.
Conclusion
These are general steps and topics for how to use GitHub. Of course, GitHub has many rich features, and you can explore and use more features of GitHub according to your needs and preferences.